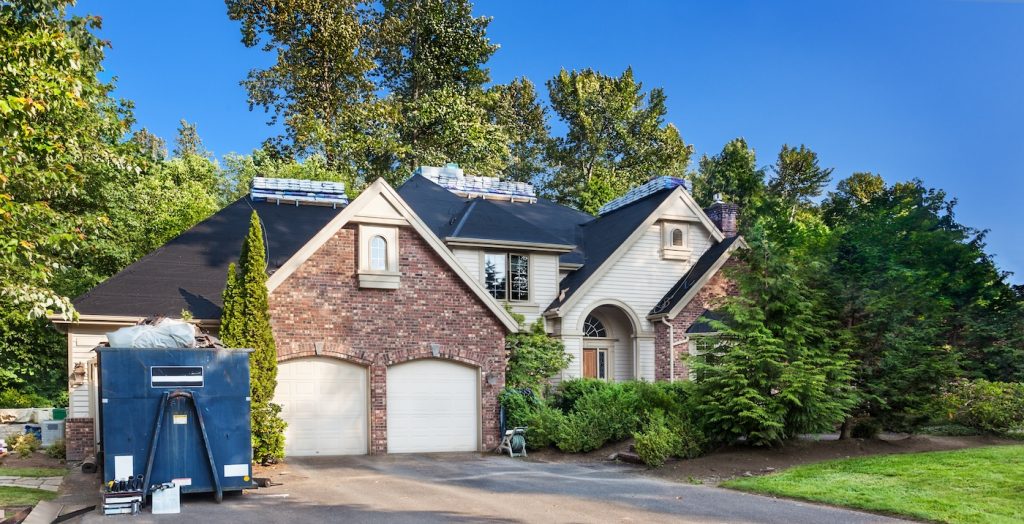
Every great roof starts with a strong foundation—and that foundation begins with roof underlayment. This hidden layer plays a vital role in protecting your home from moisture, temperature changes, and structural damage. Whether you’re replacing an existing roof or building a new one, understanding underlayment materials and their purpose helps you make smarter, longer-lasting decisions. Homeowners in La Mesa, CA, often overlook this critical component, but it’s one of the most important parts of a roofing system.
In this guide, you’ll learn:
- Definition: What roof underlayment is and why it’s essential
- Types: How materials like felt, synthetic, and rubberized underlayment compare
- Benefits: How it protects your home year-round
- Installation: What to expect from a professional roofer
- Maintenance: How to extend the life of your entire roof
What Is Roof Underlayment?
Roof underlayment is a water-resistant or waterproof barrier installed directly on top of your roof decking before shingles or tiles are laid. It acts as a secondary shield against leaks, protecting the wood structure beneath from moisture, wind-driven rain, and condensation. Without it, water can seep into your home even if your outer roofing material looks intact.
In areas like Southern California, where temperatures swing between dry heat and seasonal rain, underlayment prevents costly damage by keeping moisture out of the roof deck. It’s one of the most important investments you can make for long-term roof health.

How Roof Underlayment Works
Underlayment serves as your roof’s last line of defense if shingles or tiles fail. It also:
- Seals the deck: Creates a tight barrier between your roof and the elements.
- Improves insulation: Helps regulate indoor temperatures and energy efficiency.
- Prevents leaks: Stops moisture from penetrating cracks or nail holes.
- Extends roof life: Reduces wood rot, warping, and mold growth.
The 3 Main Types of Roof Underlayment
There are three main types of roof underlayment used by professional roofing contractors. Each has unique advantages depending on your budget, home design, and local weather conditions.
Felt Underlayment
This is the traditional option, made from paper saturated with asphalt. It comes in 15-pound and 30-pound varieties, with heavier grades offering better durability and water resistance.
Synthetic Underlayment
Synthetic underlayment has become the industry standard for modern roofs. Made from woven or spun polymers, it’s lightweight, strong, and resists moisture far better than felt. Roofers appreciate its easy handling and slip-resistant surface, especially during installation on steep slopes.
Rubberized Asphalt Underlayment
This high-end option combines rubber polymers with asphalt for a self-sealing, fully waterproof barrier. It’s commonly used in areas prone to heavy rain or around leak-sensitive spots like valleys, chimneys, and eaves.
4 Major Benefits of Roof Underlayment

No matter what type you choose, roof underlayment offers several key advantages that protect your home from long-term damage.
1. Moisture Protection
Even the best roof shingles can’t block every drop of water. Underlayment provides a second line of defense that prevents rain and condensation from reaching your roof deck, especially during strong wind or storms.
2. Temperature Control
In California’s varied climate, underlayment acts as an insulating layer that helps reduce heat transfer. This keeps your attic cooler in summer and prevents energy loss during cooler months.
3. Enhanced Durability
A properly installed underlayment stabilizes the roof’s surface and helps shingles or tiles lay evenly. This minimizes shifting, cracking, and curling caused by daily expansion and contraction.
4. Leak Prevention
When a few shingles go missing, underlayment protects your home from immediate leaks until repairs are made. It’s an invisible safeguard that buys you time and prevents interior water damage.
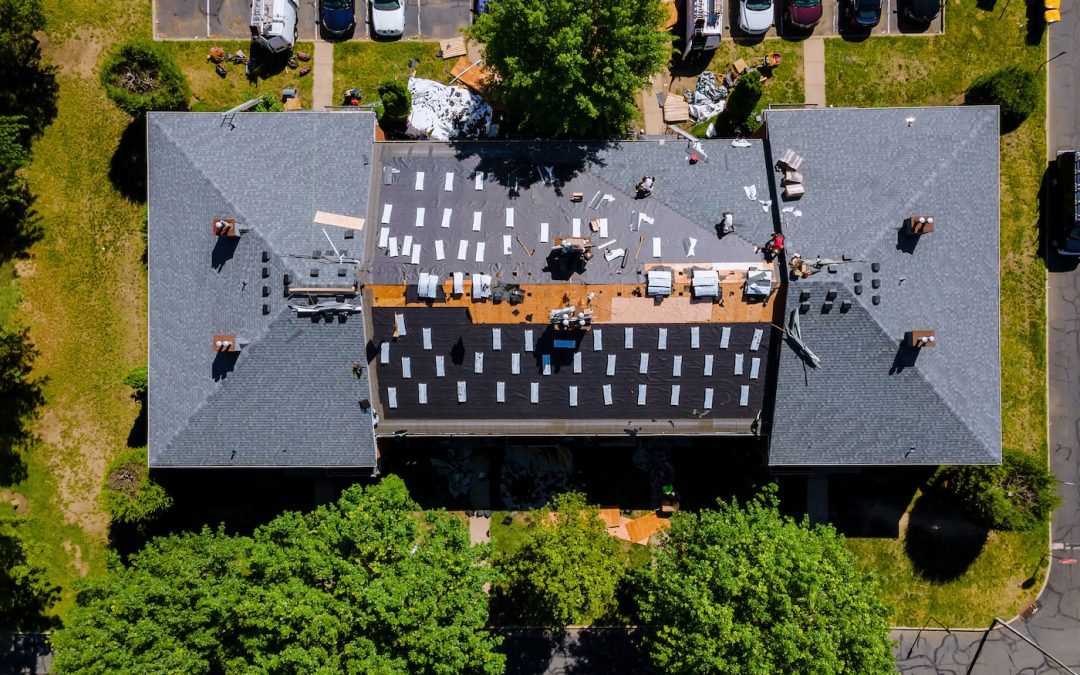
5 Key Steps in Roof Underlayment Installation
Here’s how professional roofing contractors like Streamline Roofing typically install underlayment to maximize protection and performance.
- Roof deck preparation: The old roof is removed, and the decking is cleaned and inspected for damage.
- Surface repair: Any rotted or weakened wood is replaced to ensure a solid base.
- Underlayment roll-out: The material is rolled out horizontally, starting from the bottom edge of the roof and moving upward.
- Fastening and sealing: Roofing nails, adhesives, or self-sealing layers secure the material in place.
- Edge protection: Flashing and drip edges are added to prevent water infiltration along borders and valleys.
Each of these steps is crucial for long-term durability. Skipping any can compromise the roof’s ability to handle heavy rain or high winds.
Most Common Underlayment Mistakes to Avoid
Roofing mistakes can shorten your roof’s lifespan or lead to hidden leaks. Understanding these pitfalls helps ensure your new roof performs at its best.
1. Skipping the Underlayment
Some budget contractors may try to reduce costs by leaving out underlayment altogether. This shortcut can lead to early roof failure and costly structural repairs down the line.
2. Using Low-Quality Materials
Cheap felt or off-brand synthetics may save money upfront but often lack the durability and waterproofing needed to last in California’s climate. Always check for reputable manufacturers with proven performance.
3. Improper Installation
Underlayment must be installed with proper overlap, fastening, and ventilation to perform correctly. Poor workmanship can cause wrinkles, gaps, or trapped moisture that lead to leaks later on.
Comparing Roof Underlayment Materials
Before selecting your underlayment, consider how different materials perform in cost, durability, and installation.
- Felt underlayment: Inexpensive, time-tested, and suitable for basic shingle roofs, but prone to tearing and moisture absorption.
- Synthetic underlayment: Offers superior strength, moisture resistance, and lifespan, making it a great all-around option for residential projects.
- Rubberized asphalt: Provides premium waterproofing, perfect for tile and metal roofs or high-moisture environments.
Professional roofers often recommend a combination of materials—using synthetic for most of the roof and rubberized asphalt for leak-prone sections—to achieve the best results.
Why Roof Underlayment Matters in California
Homes in California face unique environmental challenges, from heat and sun exposure to occasional heavy rain. The right underlayment can prevent these conditions from damaging the structural integrity of your roof.
In La Mesa, where summer heat is intense and sudden rainstorms can occur, choosing a moisture-resistant, UV-stable underlayment ensures your roof stands up to local weather year-round. Proper underlayment also supports tile roofs common in Southern California, preventing cracks and leaks caused by temperature fluctuations.
Why Homeowners Trust Streamline Roofing
At Streamline Roofing, quality always comes before quantity. Our family-owned team has over two decades of hands-on experience installing and repairing roofing systems throughout Southern California. We use high-quality materials from trusted brands and personally inspect every project for workmanship and safety.
We’re proud to serve home and business owners in La Mesa, CA, and nearby cities with roof underlayment installation, roof replacement, and more. Whether you’re planning a full roof upgrade or just want peace of mind that your home is protected, our experts are ready to help. Call Streamline Roofing today to schedule your free estimate and discover how our expertise can keep your roof strong, dry, and reliable for years to come.