Roofing
Roof Flashing: Types, Failures & Repair Guide 2026
Protecting a roof from water intrusion involves more than just shingles or tiles. roof flashing plays a critical role in sealing vulnerable areas where water is most likely to enter the roofing system. Installed around roof transitions, penetrations, and edges, flashing helps direct water away from seams and joints that could otherwise lead to leaks, mold growth, and structural damage.
- Water protection: Flashing helps prevent leaks around roof penetrations and edges.
- Critical roof component: Works together with roof shingles, underlayment, and ventilation systems.
- Common failure points: Improper installation or aging materials can lead to roof repairs.
- Material options: Flashing is available in aluminum, steel, copper, and other metals.
- Long-term value: Proper flashing installation helps extend roof lifespan and reduce costly damage.
Whether you’re planning a new roof installation or addressing leaks around chimneys and vents, understanding roof flashing is essential for protecting your house in 2026.
What Is Roof Flashing?
Roof flashing is a thin material, usually metal, installed around vulnerable roof areas to create a waterproof barrier. Roofing contractors use flashing to protect locations where roofing materials meet walls, chimneys, skylights, vents, valleys, and other roof penetrations.
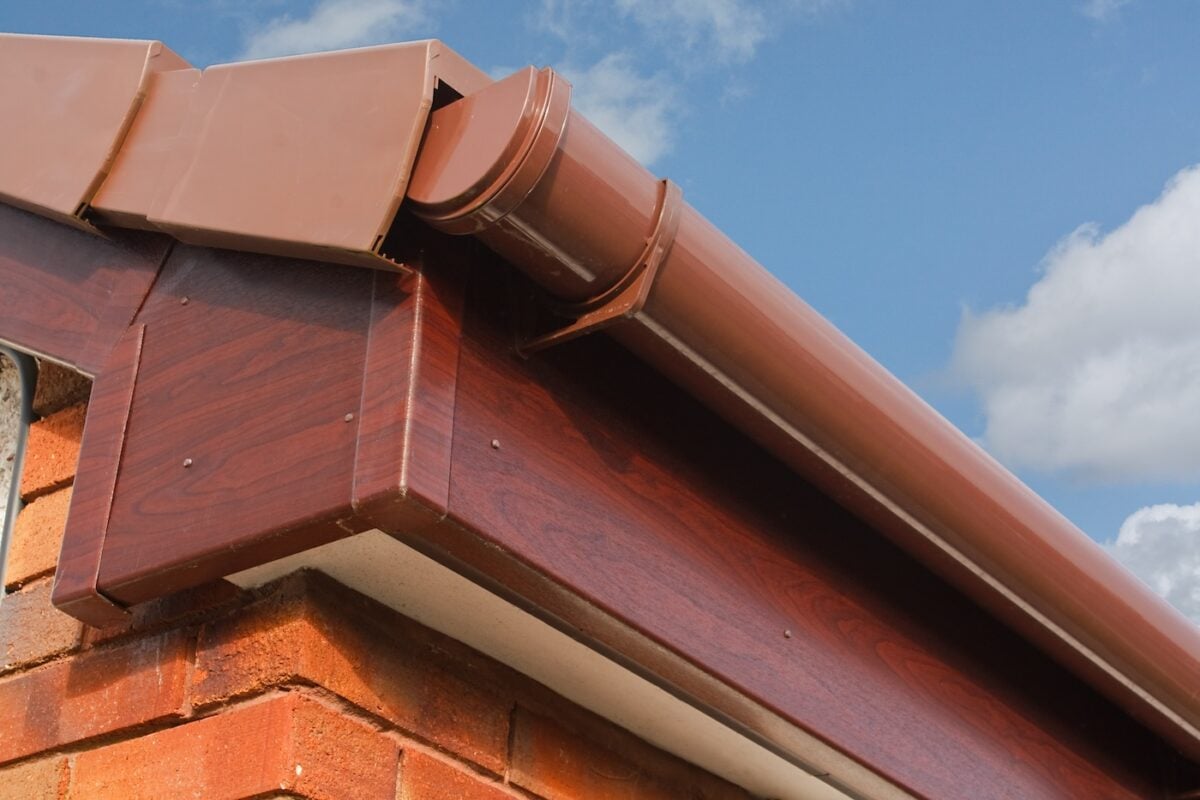
Without flashing, water can seep beneath roofing materials and cause water infiltration that damages the roof deck, insulation, or interior ceilings. Flashing works by directing water away from these transitions and into the drainage system of the roof, an essential detail for mountain homes relying on Julian roofing services.
Most flashing systems are made from aluminum, galvanized steel, copper, or other durable materials designed to resist corrosion and weather exposure. Flashing is commonly used on asphalt roofing systems as well as metal roof installations to help create a watertight seal around critical roof areas.
7 Common Types of Roof Flashing
Different parts of a roof require different flashing styles. Here are seven of the most common types homeowners and roofing pros should know.
1. Step Flashing
Step flashing is commonly used where a sloped roof meets a vertical wall.
- Layered design: Installed between rows of roof shingles.
- Water control: Guides water away from wall intersections.
- Common locations: Sidewalls and dormers.
2. Chimney Flashing
Chimneys require multiple flashing components to seal gaps where masonry meets the roofing system.
- Counter flashing: Installed into the chimney mortar joints.
- Base flashing: Protects the bottom roof transition.
- Leak prevention: Helps prevent water infiltration around brick and stone.
3. Valley Flashing
Roof valleys handle large amounts of rainwater runoff, making flashing especially important in these areas.
- Heavy water flow: Protects roof valleys from pooling water.
- Metal channels: Direct water safely down the roof.
- Long-term durability: Reduces wear in vulnerable roof sections.
4. Drip Edge Flashing
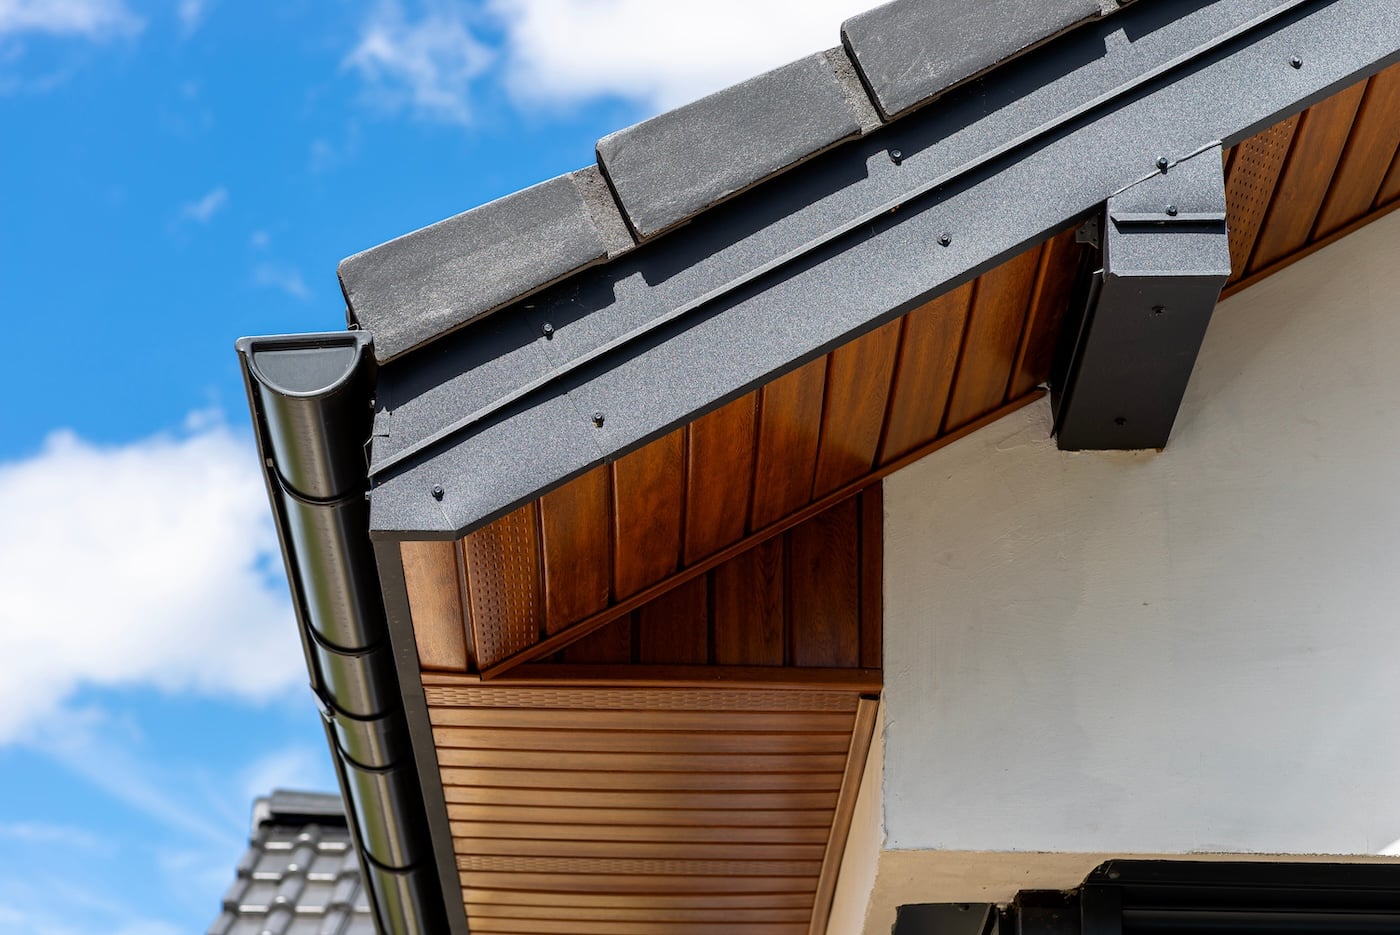
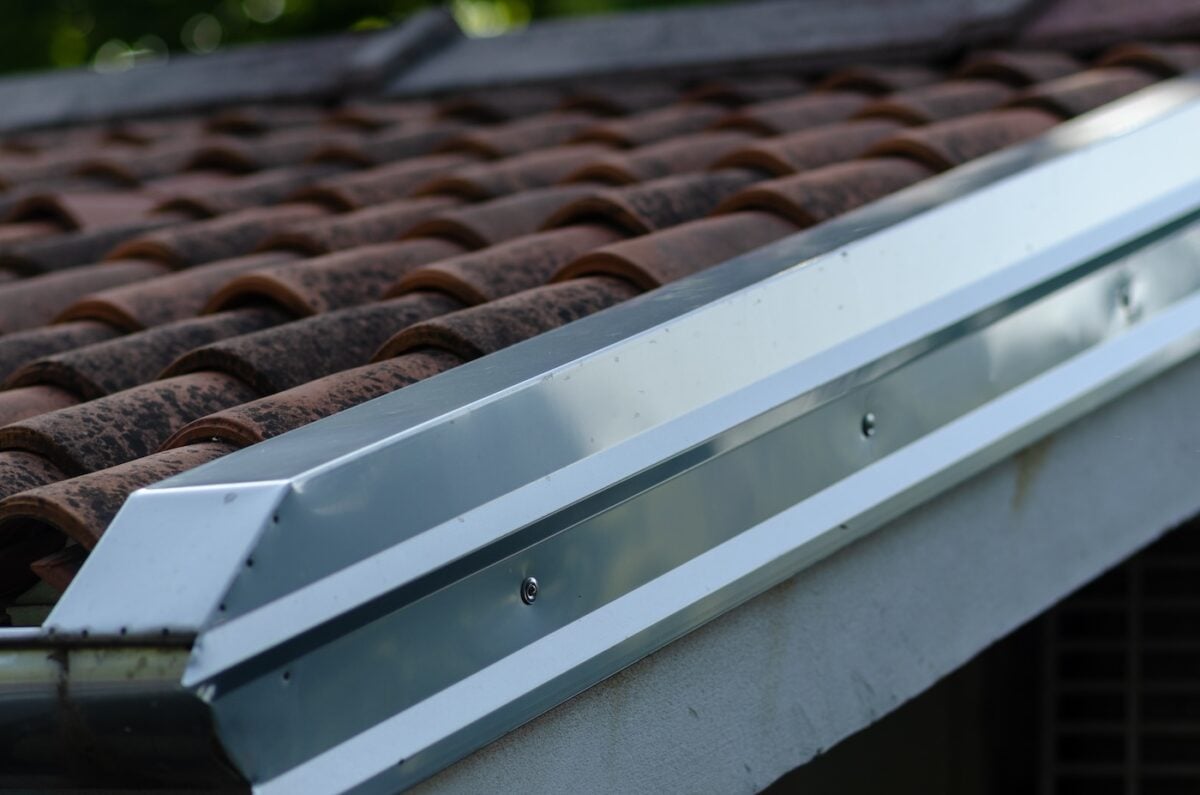
Drip edge flashing is installed along roof edges to help direct water into gutters.
- Edge protection: Prevents water from reaching fascia boards.
- Improved drainage: Supports proper runoff into gutter systems.
- Code compliance: Often required in modern roofing construction.
5. Vent Pipe Flashing
Plumbing vents and roof penetrations require specialized flashing boots to create a watertight seal.
- Flexible seal: Wraps tightly around vent pipes.
- Leak protection: Prevents water from entering around penetrations.
- Weather resistance: Designed to handle UV rays and moisture.
6. Skylight Flashing
Skylights are common leak points without proper flashing installation.
- Perimeter sealing: Protects all sides of the skylight frame.
- Water diversion: Channels rainwater away from seams.
- Integrated systems: Often paired with manufacturer-specific flashing kits.
7. Kickout Flashing
Kickout flashing directs water away from walls where roofs terminate near siding.
- Prevents wall damage: Reduces moisture exposure on siding.
- Improves drainage: Redirects runoff into gutters.
- Important detail: Often overlooked during roof installation.
Common Roof Flashing Failures
Even durable flashing materials can fail over time due to weather exposure, improper installation, or aging roofing systems. Identifying problems early helps homeowners avoid major roof repairs and is a key part of working with a trusted Bonita roofing contractor.
Rust and Corrosion
Metal flashing exposed to moisture for years may begin to corrode.
- Water exposure: Causes gradual metal deterioration.
- Weakening material: Corrosion creates holes and cracks.
- Replacement needs: Damaged sections should be replaced promptly.
Loose or Lifted Flashing
Flashing can separate from roofing materials due to strong winds or poor installation practices.
- Wind damage: Strong gusts may loosen flashing edges.
- Improper fastening: Weak attachment points increase failure risk.
- Leak potential: Water can enter beneath roofing materials.
Cracked Sealants
Roofing sealants around flashing components can dry out and crack over time.
- UV exposure: Sunlight gradually weakens sealants.
- Moisture intrusion: Cracks create pathways for leaks.
- Routine maintenance: Inspections help catch early signs of failure.
Improper Installation
Incorrect flashing installation is one of the most common causes of roof leaks. According to the National Roofing Contractors Association, deteriorated flashings are one of the most common problems uncovered during biannual roof inspections — and when left unaddressed, loose seams and failed flashing details are among the leading causes of preventable roof leaks and long-term water damage.
- Poor overlap: Allows water to penetrate seams.
- Wrong material choice: Some metals may react poorly with roofing materials.
- Installation errors: Increase the likelihood of expensive repairs.
Roof Flashing Repair Process
Repairing roof flashing depends on the severity of the damage and the condition of the surrounding roofing materials.
- Inspection: Roofing contractors identify damaged flashing and surrounding problem areas.
- Material removal: Old shingles or roofing materials may be lifted or removed.
- Flashing replacement: Damaged flashing sections are replaced with new materials.
- Sealant application: Waterproof sealants are added around penetrations and seams.
- Final inspection: Contractors confirm proper drainage and waterproofing performance.
Professional roofers often recommend replacing flashing during a new roof installation to ensure all roofing components work together properly and maintain a reliable waterproof barrier.
Comparing Roof Flashing Materials
Different flashing materials offer different advantages depending on climate conditions, roof design, and budget.
| Flashing Material | Benefits | Common Uses |
| Aluminum | Lightweight and rust-resistant | Residential roofing |
| Galvanized Steel | Strong and affordable | General roof flashing |
| Copper | Premium appearance and durability | High-end roofing systems |
| Lead | Flexible and waterproof | Chimneys and specialty roofs |
Choosing the right flashing material helps improve long-term roof performance and durability.
Signs You May Need Flashing Repairs
Roof flashing problems often develop slowly before major leaks appear. Homeowners should watch for early warning signs.
- Water stains: Ceiling discoloration near chimneys or vents.
- Loose shingles: Roofing materials lifting near flashing areas.
- Visible rust: Corrosion on exposed flashing metal.
- Interior leaks: Moisture appearing during storms.
- Mold or mildew: Excess moisture around roof penetrations.
Routine roof inspections and maintenance help identify these issues before they become serious, and professional roof leak detection can pinpoint hidden problems.
Common Questions About Roof Flashing
Roof flashing is one of the most important waterproofing components on a roofing system, yet many homeowners don’t notice problems until leaks begin to appear. Understanding how flashing works and when repairs are needed can help prevent expensive structural damage and extend the life of your roof.
How long does roof flashing last?
Most roof flashing materials last between 20 and 30 years depending on the type of metal used, weather exposure, and overall roof maintenance. Regular inspections and prompt repairs can help extend flashing lifespan and prevent leaks from developing around vulnerable roof areas.
Can flashing be repaired without replacing the roof?
Yes. In many situations, roofing contractors can repair or replace damaged flashing without installing a completely new roof system. Minor issues like loose flashing, cracked sealants, or rusted sections are often repaired separately if the surrounding roofing materials remain in good condition.
Is roof flashing required?
Yes. Roof flashing is an essential waterproofing component installed around roof penetrations, chimneys, skylights, walls, and valleys to help prevent water intrusion. Most building codes require flashing because it protects vulnerable roof transitions from moisture damage and leaks.
Does flashing need maintenance?
Yes. Flashing should be inspected regularly as part of routine roof maintenance to identify corrosion, loose sections, cracked sealants, or other signs of wear before leaks develop. Preventive maintenance helps extend the life of both the flashing and surrounding roofing materials.
Protect Your Roof with Streamline Roofing
Roof flashing plays a major role in protecting your home from water damage and costly repairs. At Streamline Roofing, our experienced roofing pros provide inspections, flashing repairs, maintenance, and complete roofing services designed to improve long-term roof performance, including dependable Chula Vista roofing services.
We’re proud to serve homeowners and businesses in El Cajon, CA, and nearby communities with reliable roofing solutions. If you’re dealing with flashing leaks or planning a new roof project, contact Streamline Roofing today to schedule a consultation.