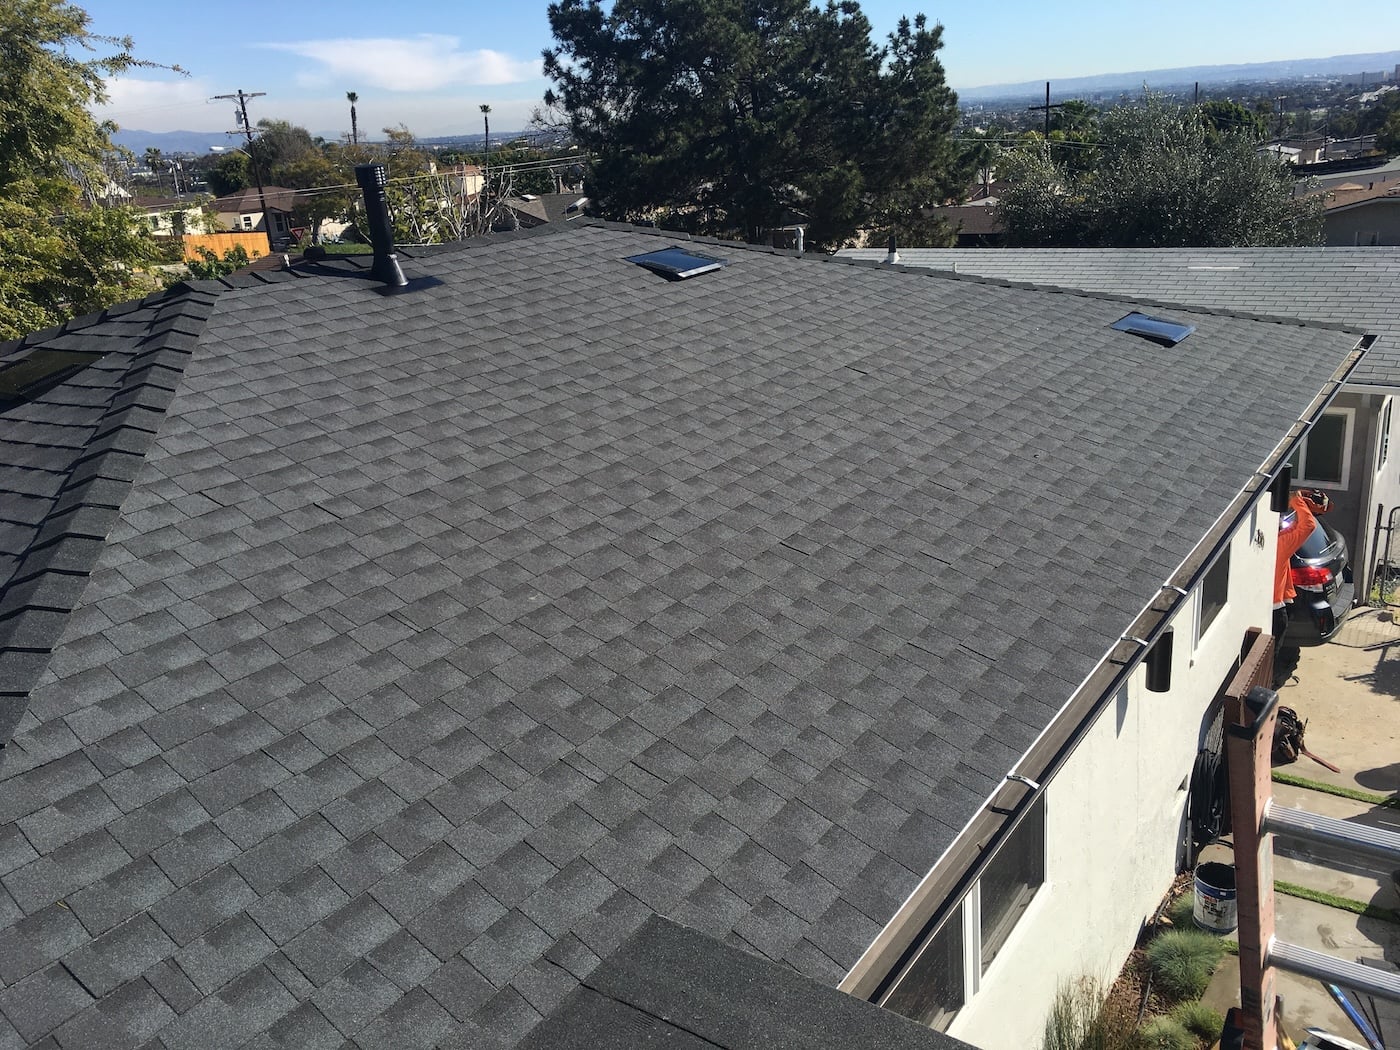
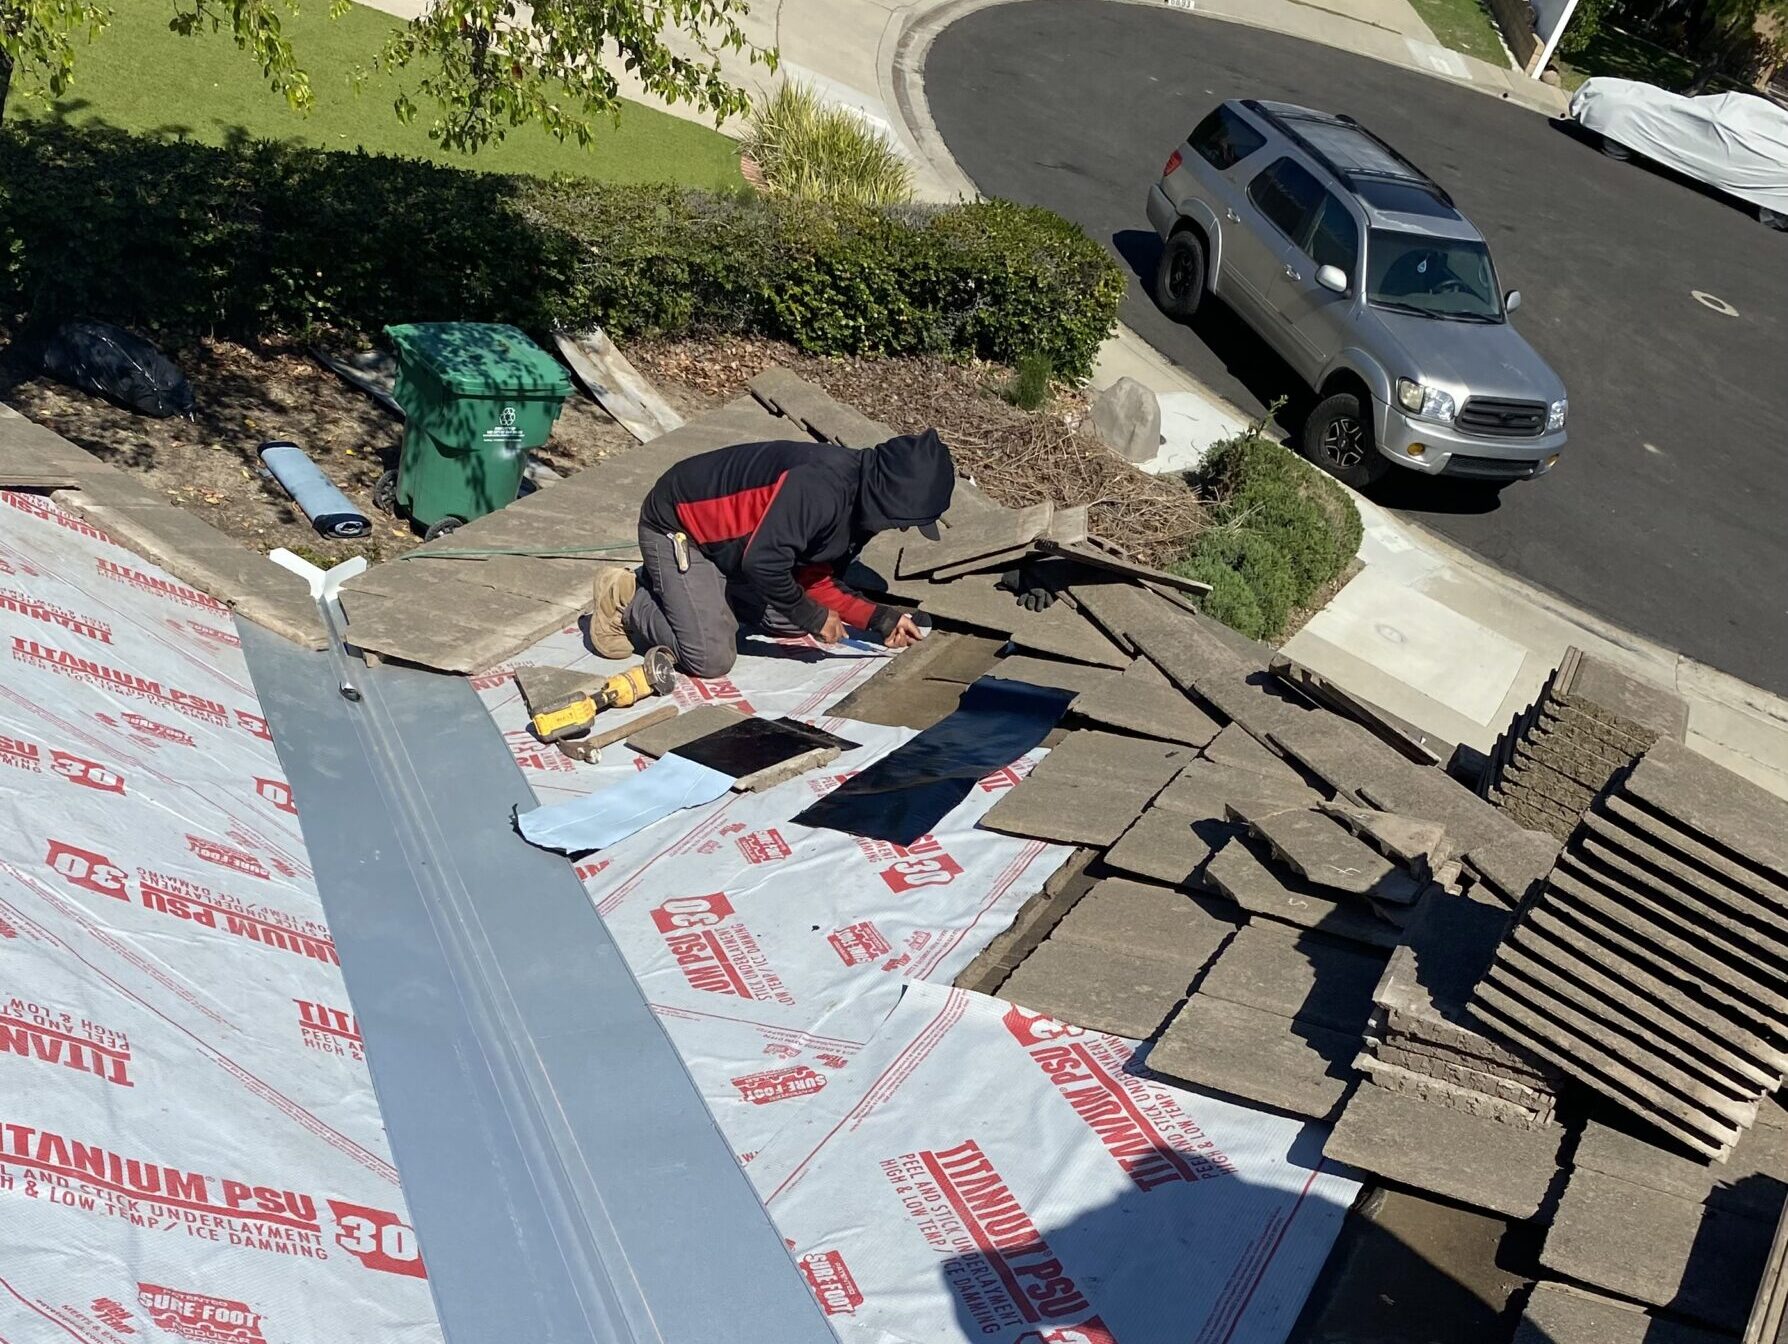
Shingle Roofing
Asphalt Shingle Roof Installation: 10 Steps Inside Every Project
Asphalt shingle roof installation involves much more than simply attaching new shingles to a home. A properly installed roofing system includes preparation, roof deck evaluation, underlayment, flashing, ventilation, shingles, and finishing details that work together to protect the structure from the elements. Whether you are replacing an aging roof or installing shingles on a new home, a roofing system built for lasting protection starts with careful installation from the deck up. Below are some of the most important parts of the process:
- Roof preparation: Getting the existing structure ready for installation
- Deck inspection: Identifying damaged or weakened sheathing
- Water protection: Installing underlayment and flashing in vulnerable areas
- Shingle installation: Creating consistent courses with proper fastening
- Final inspection: Checking workmanship and completing cleanup
Why Proper Asphalt Shingle Installation Matters
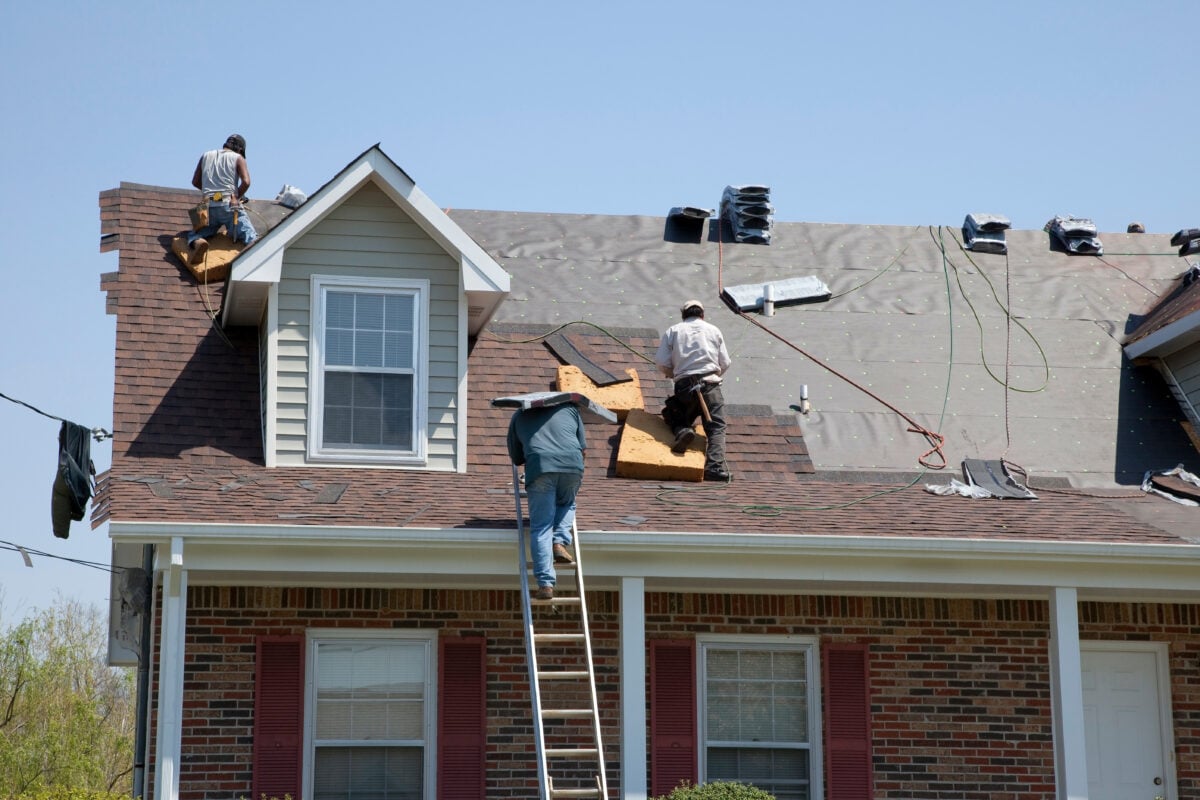
Asphalt shingles are designed to create overlapping layers that direct rainwater down the roof and away from the home. For that system to work properly, every component underneath and around the shingles must also be installed correctly.
Poor installation can contribute to loose shingles, premature wear, roof leaks, and problems around valleys, vents, chimneys, and roof edges. Following the correct installation process gives the roof a stronger foundation and helps homeowners get the expected performance from their roofing materials, which is why choosing an experienced roofing company in La Mesa matters.
What Goes Into an Asphalt Shingle Roofing System?
The visible shingles are only one part of a complete roof. Several components work underneath and around them to manage moisture, improve ventilation, and protect the roof deck.
Important components include:
- Roof deck: Provides the structural surface for the roofing materials
- Underlayment: Adds another layer of protection beneath the shingles
- Drip edge: Directs water away from vulnerable roof edges
- Flashing: Protects valleys, walls, chimneys, vents, and penetrations
- Asphalt shingles: Form the primary weather-resistant exterior surface
The condition and installation of each component can affect the performance and lifespan of the finished roof.
10 Steps Inside Every Asphalt Shingle Roof Installation
While individual homes can require different materials or additional repairs, most asphalt shingle projects follow the same basic progression. Each stage prepares the roof for the next and helps create a complete system rather than simply a new exterior surface.
1. Inspect the Existing Roof
Before installation begins, the roofing contractor evaluates the existing roof and identifies areas that may require additional attention. Roof age, leaks, damaged shingles, flashing problems, ventilation, and visible structural concerns can all affect the project.
- Roof condition: Determines the extent of work required
- Problem areas: Identifies leaks, deterioration, or previous damage
- Project planning: Helps determine materials and installation requirements
A thorough initial evaluation also reduces the chance of discovering preventable problems after work has already started.
2. Prepare the Property
Before old roofing materials come off, the surrounding property needs to be prepared for the project. Contractors may protect landscaping, establish safe work areas, position disposal containers, and make sure crews can access the roof efficiently.
- Property protection: Helps shield landscaping and exterior features
- Debris planning: Creates a controlled area for discarded materials
- Safe access: Gives the crew room to move materials and equipment
Good preparation helps keep the project organized while reducing unnecessary disruption around the home.
3. Remove the Old Roofing Materials
For a typical roof replacement, the old asphalt shingles are removed so the underlying structure can be evaluated. Removing existing materials also provides a clean surface for the new roofing system.
- Old shingles: Removed from the roof surface
- Existing underlayment: Taken away when replacement is required
- Old fasteners: Removed or properly addressed before new materials are installed
Tearing off the old roof adds labor and disposal requirements, but it provides access to areas that would otherwise remain hidden.
4. Inspect and Repair the Roof Deck
Once the old materials are removed, the roof deck becomes fully visible. Contractors can then look for rotten wood, soft areas, damaged sheathing, or other conditions that could compromise the new installation.
- Moisture damage: Identified before it is covered
- Weak decking: Repaired or replaced as necessary
- Solid surface: Provides a secure base for the new roof
Installing new shingles over deteriorated decking can create fastening problems and shorten the life of the roofing system. Any significant issues should be addressed before installation continues.
5. Install Drip Edge and Water Protection
The next stage begins creating the roof’s water-management system. Drip edge is installed around appropriate roof edges, while additional water-resistant protection may be placed in valleys and other areas that are more vulnerable to moisture.
- Drip edge: Directs runoff away from vulnerable roof edges
- Valley protection: Reinforces areas that handle concentrated water
- Leak prevention: Adds protection in higher-risk locations
These details are especially important because water naturally moves toward roof edges, valleys, and transitions.
6. Install Roofing Underlayment
Underlayment is installed across the roof deck before the asphalt shingles. It creates another protective layer between the decking and exterior roofing material.
- Deck coverage: Protects the underlying wood surface
- Moisture protection: Provides an additional barrier beneath shingles
- Consistent base: Prepares the roof for the finished material
Underlayment does not replace properly installed shingles, but it plays an important supporting role in the complete roofing system.
7. Install and Seal Roof Flashing
Flashing is used anywhere the roof changes direction or meets another surface. These areas require careful attention because they are common locations for water intrusion.
- Roof valleys: Channel large amounts of runoff
- Chimneys and walls: Require properly integrated flashing
- Roof penetrations: Vents and pipes need watertight protection
Correct flashing installation is critical because shingles alone cannot adequately protect every joint, transition, and penetration in the roofing system.
8. Install the Asphalt Shingles
Once the protective layers are in place, the asphalt shingles are installed in overlapping courses. Proper alignment, exposure, and fastening help the finished roof shed water while resisting wind.
- Starter shingles: Establish protection along roof edges
- Proper alignment: Creates consistent courses across the roof
- Correct fastening: Helps shingles remain secure during wind and weather
Roofing nails must be positioned according to the shingle manufacturer’s requirements. Incorrect nail placement, overdriven fasteners, or too few nails can affect performance and create future problems.
9. Complete Ridge Caps and Ventilation
After the primary roof planes are covered, contractors complete the ridge, ventilation components, and other finishing details. These areas help protect roof transitions while supporting airflow through the attic.
- Ridge caps: Finish and protect roof peaks
- Roof vents: Help maintain proper attic airflow
- Detail work: Completes exposed transitions and penetrations
Proper ventilation matters because excessive attic heat and moisture can affect the roof deck, insulation, and asphalt shingles over time.
10. Perform the Final Inspection and Cleanup
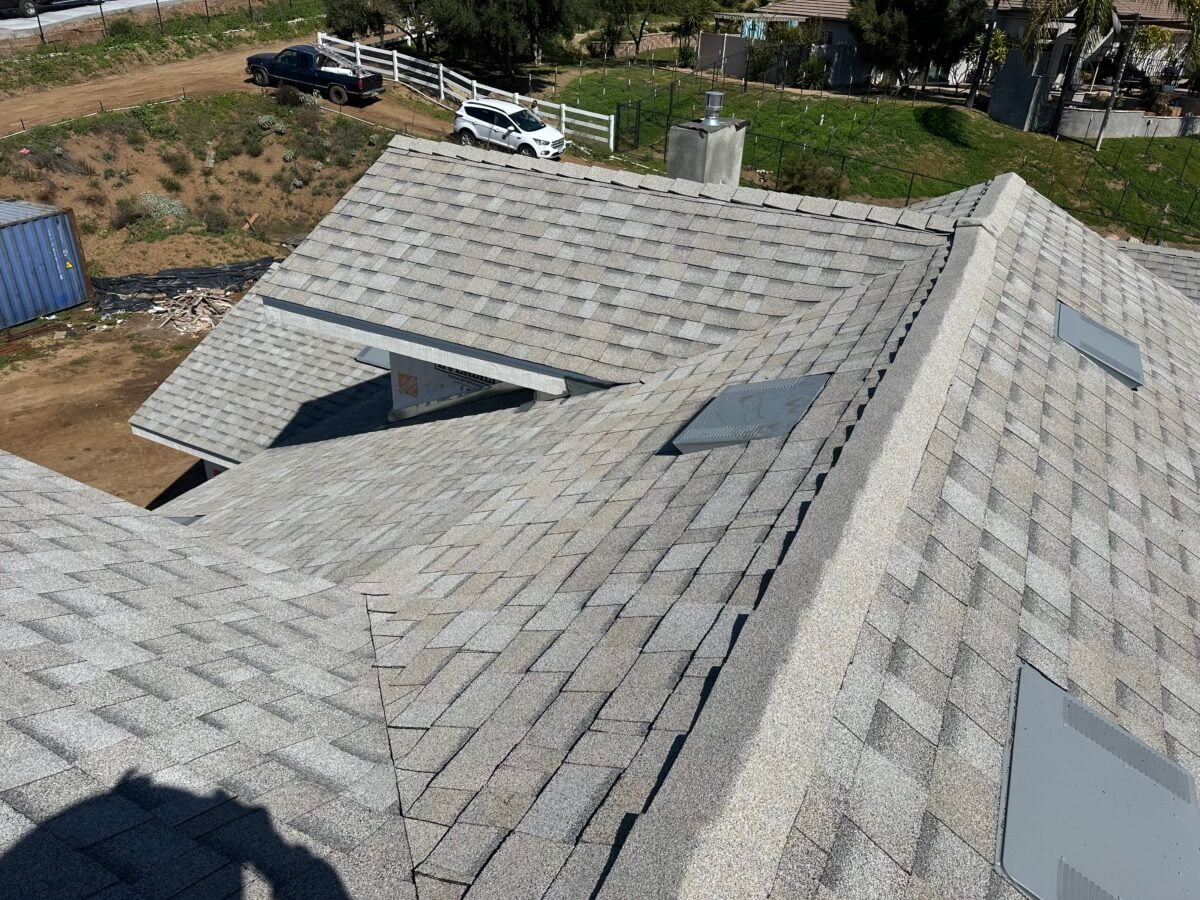
The installation process concludes with a detailed review of the completed roof. Contractors check shingles, flashing, vents, roof edges, and other components to confirm the system has been completed properly.
- Workmanship check: Reviews important installation details
- Property cleanup: Removes roofing debris and leftover materials
- Final evaluation: Identifies anything requiring correction
Old roofing materials, packaging, and loose roofing nails should also be removed from the property before the project is considered complete.
How Long Does Asphalt Shingle Roof Installation Take?
Installation time depends on roof size, pitch, complexity, weather, accessibility, and whether damaged decking is discovered during tear-off. A straightforward residential roof can often progress relatively quickly, while larger or more complex homes require additional time, something a trusted San Diego roofing contractor will outline before work begins.
Unexpected repairs can also extend the schedule. Discovering deteriorated roof decking, flashing problems, or structural concerns after removing the old shingles may require additional work before the new roof can be installed correctly.
Choosing Asphalt Shingles for Your Home
Asphalt shingles remain a common residential roofing material because they offer a practical combination of appearance, performance, and cost. Homeowners can choose from different shingle styles, colors, and performance levels based on their home’s architecture and budget.
Three-Tab Asphalt Shingles
Three-tab shingles have a flatter, more uniform appearance and are generally positioned as a basic asphalt roofing option. Their straightforward design can work for homeowners prioritizing simplicity and affordability.
Architectural Asphalt Shingles
Architectural shingles use a dimensional construction that creates greater visual depth across the roof. They are widely used on residential homes and are available in numerous colors and profiles.
Premium and Designer Shingles
Premium shingles are designed to provide distinctive profiles, enhanced visual detail, or additional performance characteristics. Some products are designed to resemble materials such as wood shakes or slate while retaining an asphalt shingle construction.
What Can Affect the Cost of Asphalt Shingle Installation?
The total price of a roofing project depends on more than the cost of the shingles themselves. Roof size and material selection are major factors, but the condition and complexity of the existing roof can significantly affect labor and material requirements.
Common cost factors include:
- Roof size: More square footage requires additional materials and labor
- Roof pitch: Steeper roofs may require more time and safety equipment
- Shingle selection: Product lines vary in price and performance
- Deck repairs: Damaged sheathing increases the scope of work
- Roof complexity: Valleys, dormers, chimneys, and penetrations require additional detailing
- Tear-off and disposal: Removing existing roofing adds labor and disposal costs
A detailed estimate should account for the complete roofing system rather than focusing only on the price of shingles.
How to Protect a Newly Installed Asphalt Shingle Roof
A new roof still requires ongoing attention. Regular maintenance can help identify small concerns before they develop into leaks or more extensive damage.
Schedule Regular Roof Inspections
Periodic inspections can identify lifted shingles, flashing problems, damaged sealants, and other developing concerns. Inspections are also valuable after severe storms or unusually high winds.
Keep Gutters Clear
Clogged gutters can interfere with drainage and allow water to collect around roof edges. Removing leaves and debris helps water move away from the roofing system as intended.
Address Damage Early
Missing shingles, damaged flashing, and small leaks should not be ignored simply because the roof is relatively new. Prompt repairs can prevent localized damage from spreading into the roof deck or interior of the home.
Frequently Asked Questions About Asphalt Shingle Roof Installation
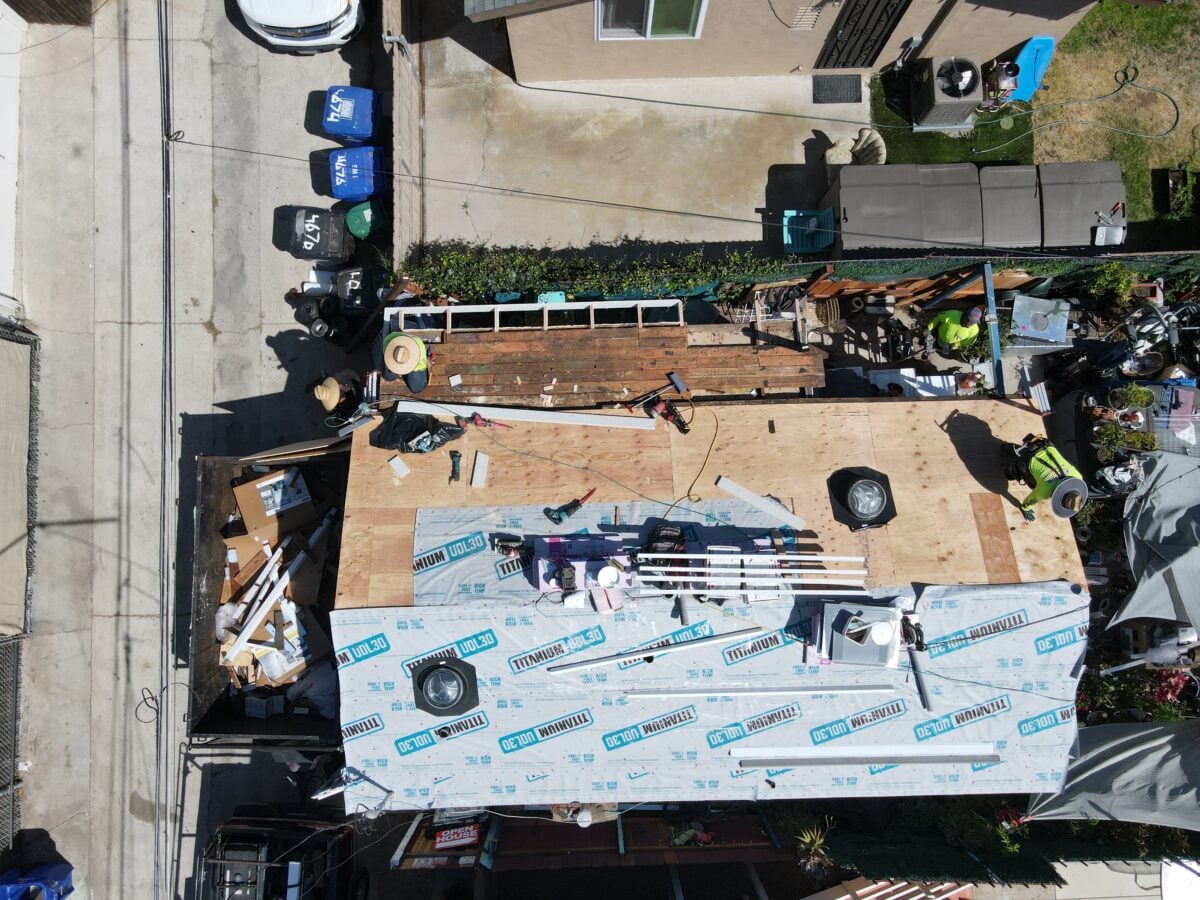
Homeowners often have questions about what happens during installation and what they should expect from a new asphalt shingle roof. Understanding the process can make it easier to plan for a replacement or new installation.
Can New Asphalt Shingles Be Installed Over Old Shingles?
An overlay may be possible in some circumstances, but removing the old roofing allows the roof deck and underlying components to be inspected directly. Existing roof condition, local requirements, and manufacturer specifications should be considered before deciding on an approach.
Do Asphalt Shingles Need Underlayment?
Underlayment is an important component of an asphalt shingle roofing system. It provides additional protection between the shingles and roof deck and helps manage moisture if water gets beneath the exterior roofing material.
Why Is Roof Decking Inspected During Installation?
The roof deck provides the surface that supports and secures the roofing materials. Rotten, soft, or damaged decking may not hold fasteners properly and should be repaired before new shingles are installed.
How Are Asphalt Shingles Attached to the Roof?
Asphalt shingles are typically secured with roofing nails placed in manufacturer-specified fastening areas. Proper nail placement and depth are important for wind resistance and long-term performance.
How Long Does an Asphalt Shingle Roof Last?
Lifespan varies based on the specific shingle, installation quality, climate, ventilation, maintenance, and weather exposure. Following manufacturer requirements and addressing damage promptly can help homeowners get the most from their roofing system.
Start Your Asphalt Shingle Roof Installation With Streamline Roofing
A successful asphalt shingle roof installation depends on what happens beneath the shingles just as much as the finished surface. Streamline Roofing handles the process from roof preparation and decking evaluation through shingle installation, flashing, ventilation, and final inspection for homeowners seeking dependable Alpine roofing services. If your current roof is reaching the end of its life or you’re ready to plan a new installation, start planning a roof built for your home with the Streamline Roofing team.